DIY Wood Block Reversible Christmas Tree and Valentine Decoration Without a Vinyl Cutter
How to make this wood block Christmas tree and Valentine's Day decoration using 2x2 lumber (no vinyl cutter needed!!)
This would be a great Super Saturday craft project, girls night out craft project, or neighbor gift at Christmas time. It took me about 45 minutes to make, including cutting and sanding the wood blocks.
Here is what you need to make this DIY puzzle blocks:
2x2 lumberThe actual size of a 2x2 is about 1.5" x 1.5." One 2x2x8 board is about $2.25 at Home Depot.
Cut list:
2- 1.5"
1- 3"
1- 4.5"
1- 6"
1- 7.5"
Total inches needed- about 22.5." You can make 4 of these trees from one piece of 2x2x8.
HINT: Check their scrap pile in the back, you might be able to find something that will work for 75% off!
Want ideas on how to use the rest of your 2x2? Check out my other 2x2 projects: http://blog.poshdiy.com/search/label/2x2%20lumber
Total- $0.60
Print off the papers
Print off the paper for the Christmas and the Valentine's trees on normal printer paper using color ink. Estimating 10 cents for each. (scroll to the bottom of this post for free high quality .jpgs to print out)
Total- $.20
Small Star and Heart
1- 1" heart
These are the hearts I used: https://amzn.to/2Q324Hu
1- 1" star
These are the stars I used https://amzn.to/2S1Wh7T
Total- $.20
White, Pink, and Gold Paint
Paint each block white.
Total- $.20
Paint Brush
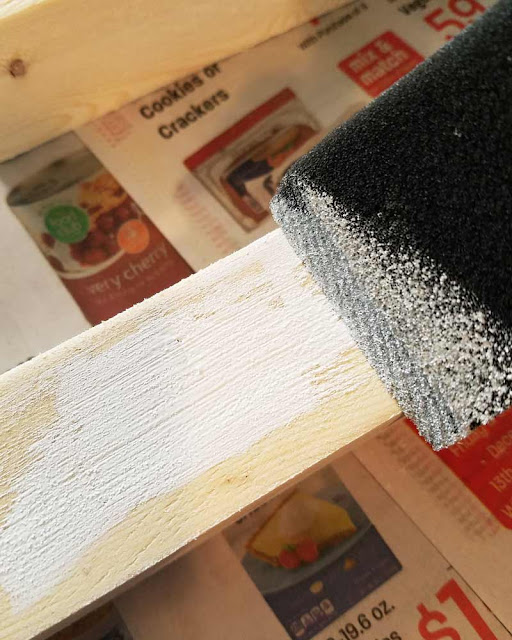
I used a 1.5" wide sponge brush for painting and a 1.5" "normal" paint brush for the mod podge, but you can use whatever you have.
Sandpaper
You will want to sand the blocks after you cut them.
Total- $.10
Mod Podge
I used about 2 ounces. If you buy it in bulk, that's about $0.20. You can also buy it in 2 ounce bottles at the dollar tree for $1.00. I'm using matte mod podge. You can use glossy if you like that look better.
$.20
Grand total: $1.50
Let's get started!
After you cut and sand your wood it will look like this:
Then, paint each block white.
I found it to be easiest to let the blocks dry vertically.
While the paint is drying, print and cut out the papers for the Christmas tree and the Valentine's Day tree. If you don't have a paper slicer, use scissors and try to cut out each rectangle as straight as possible. Print them on normal copy paper (not cardstock). Scroll to the bottom of this post for free high quality .jpgs to print out.
Next, use a paint brush to "paint" the top of a block with mod podge. After you have a thin layer on the top of the block, center the paper onto the mod podged block and smooth it with your fingers (preferably clean fingers!). Try to center the picture onto the block and push it down with your fingers. If you notice it bubbling just push down the bubble and it should be fine. Continue this process until all the paper strips are on the blocks. There will not be a paper strip for one of the square blocks. It gets a little messy so I like to put junk mail under it while I work to protect my table.
After that dries for a few minutes, turn each block over and do the same thing with the Christmas side.
Let that dry for a few minutes, then turn the blocks over so the Valentine's side is showing. Apply a thin coat of mod podge over the top and allow to dry. It will look like this. The white streaks from the mod podge will dry clear. I ended up applying the entire surface of each block with the mod podge and I really like how it turned out. I did the top half and let it dry, then turned it over and did the back side and let it dry.
I hope you enjoyed this!
Wishing you lots of DIY love,
Jessica
P.S. If you liked this, show me some love by following me and repinning my project ideas! Here is the link to my pinterest page: https://www.pinterest.com/poshdiy/!
And, follow PoshDIY on facebook! Go here and hit the like button: https://www.facebook.com/poshdiy/ !
P.S.S. Here are the free printables for the Christmas Tree and the Valentine's Day Tree Decorations!
Make sure the height of each individual rectangle is 1.25" tall when you print it.


Comments
Post a Comment